
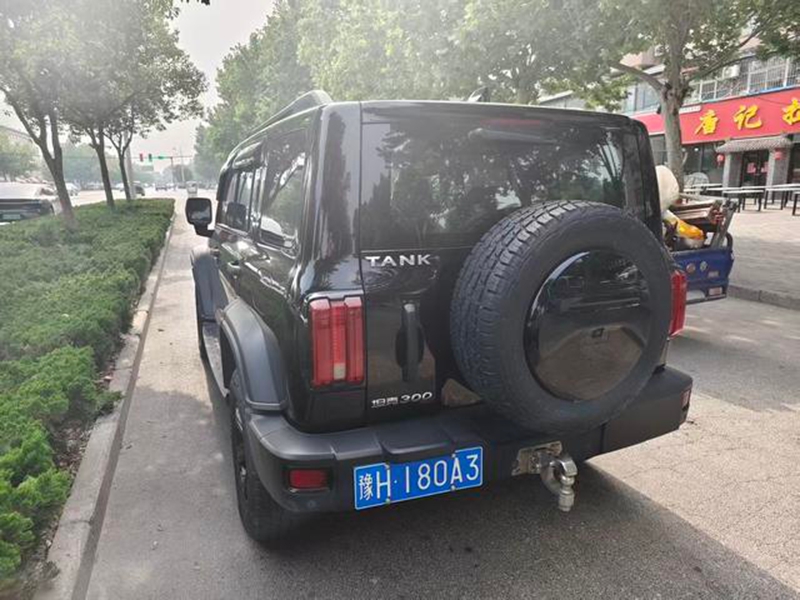
Check a used Tank 300 for collision repair, water exposure, restraint faults and hidden structural damage before export approval.
Reconstruct the event before judging the finish
Request the seller declaration, insurance or auction record where lawfully available, repair invoices, parts list and photographs taken before work began. Compare those records with paint-depth readings, panel dates, glazing marks, seam sealer, fasteners and overspray. Record every replaced or refinished area on a body diagram. A consistent repair narrative is more useful than a general claim that damage was minor. If the documents describe one corner but measurements indicate work across the opposite rail or roof aperture, stop the approval process until a qualified structural inspection explains the difference.
Measure frame, mounts and suspension geometry
Inspect both frame rails, crossmembers, body mounts, suspension pickups, steering gear mounts and recovery points under clean, dry conditions. Look for heat marks, fresh welds, stretched holes, distorted brackets, displaced coatings and unequal distances between reference points. Measure wheel alignment and ride height, then compare steering-centre position, tyre wear and braking behaviour during a controlled road test. Replacement guards or suspension parts can be sensible repairs, but they do not prove that the supporting structure remained within tolerance. Where deformation is suspected, require a written measurement report rather than relying on photographs alone.
Trace flood evidence through low and hidden areas
Lift accessible trim and inspect seat mounts, belt anchorages, spare-wheel recesses, sill cavities, frame openings and low connectors. Search for silt, tide lines, odour treatment, damp insulation, mismatched corrosion, mineral deposits and recently replaced modules. Check engine, transmission, transfer-case and differential fluids for water contamination where inspection scope permits. Save a full diagnostic scan before codes are cleared, then repeat it after a sleep cycle and road test. A freshly detailed cabin cannot neutralise corrosion that has begun inside connectors or restraint components, so uncertainty must remain visible in the valuation.
Verify airbags, belts and electronic repairs
Confirm warning-lamp self-tests, scan restraint and body modules, inspect airbag covers, dashboard fasteners, seat-belt labels and pretensioner wiring, and compare component dates with production. A used or incorrectly coded restraint module may suppress obvious warnings without restoring the intended protection. Ask for calibration or programming records whenever steering, glass, front structure or safety sensors were repaired. Final approval should name every accepted repair, the evidence supporting it and any remaining destination inspection. If structural dimensions, flood depth or restraint integrity cannot be established, rejection is safer than a cosmetic discount.
Evidence to collect
- Pre-repair photographs and invoices
- Paint and structural measurement map
- Frame and suspension geometry
- Flood and fluid evidence
- Pre-clear diagnostic scan
- Airbag and seat-belt verification
Apply the guide to a real candidate
Create a VIN-linked evidence file
Keep the dated photographs, measurements, scan report and road-test conditions together under one VIN. A seller statement or image without vehicle identity is useful for screening but not for final approval.
Define the acceptance boundary
Mark every checklist item confirmed, unresolved or rejected. Assign the next test, responsible party and deadline so uncertainty is not hidden inside a general condition description.
Carry the result into landed cost
Separate repair, preventive work, destination diagnosis and contingency. The quotation should state whether work occurs before export or after arrival and who carries the risk if the result changes.
Final approval control
Approve this used tank 300 accident, flood and restraint checks only when the exact VIN, test conditions and supporting records are reproducible. Pause when a critical result depends on a cleared fault, unrelated vehicle, unverified seller statement or unavailable destination support. Record accepted exceptions and their cost before payment; otherwise reject the candidate and continue sourcing.
Primary references
Specifications and equipment can vary by market, model year, trim, VIN and production batch. Verify the exact vehicle and current destination rules before purchase.
Official GWM Tank 300 model brochure ↗Frequently asked questions
Is any repaired Tank 300 unsuitable for export?
No. A documented cosmetic repair may be acceptable, but structural, flood and restraint uncertainty requires deeper evidence or rejection.
Can a clean diagnostic scan rule out flood damage?
No. Corrosion can develop later, and codes may have been cleared or modules replaced.
Why inspect the frame when panel gaps look even?
The body and frame can hide different damage patterns, especially after off-road impact or collision repair.